| Su | Mo | Tu | We | Th | Fr | Sa |
|---|---|---|---|---|---|---|
| 1 | 2 | 3 | ||||
| 4 | 5 | 6 | 7 | 8 | 9 | 10 |
| 11 | 12 | 13 | 14 | 15 | 16 | 17 |
| 18 | 19 | 20 | 21 | 22 | 23 | 24 |
| 25 | 26 | 27 | 28 | 29 | 30 | 31 |
Tesseract version 3.03 can output a searchable PDF directly. I gave this a try recently. Here is how I got on.
If you scan a document or a book and you want to be able to search that document, you need to employ an OCR program. The OCR program identifies letters and words, and can provide output that you can use to make a searchable PDF, either directly or via a separate program, such as hocr2pdf.
Here is the simple command line to output a searchable PDF file using Tesseract 3.03.
tesseract 000010.png 000010 pdf
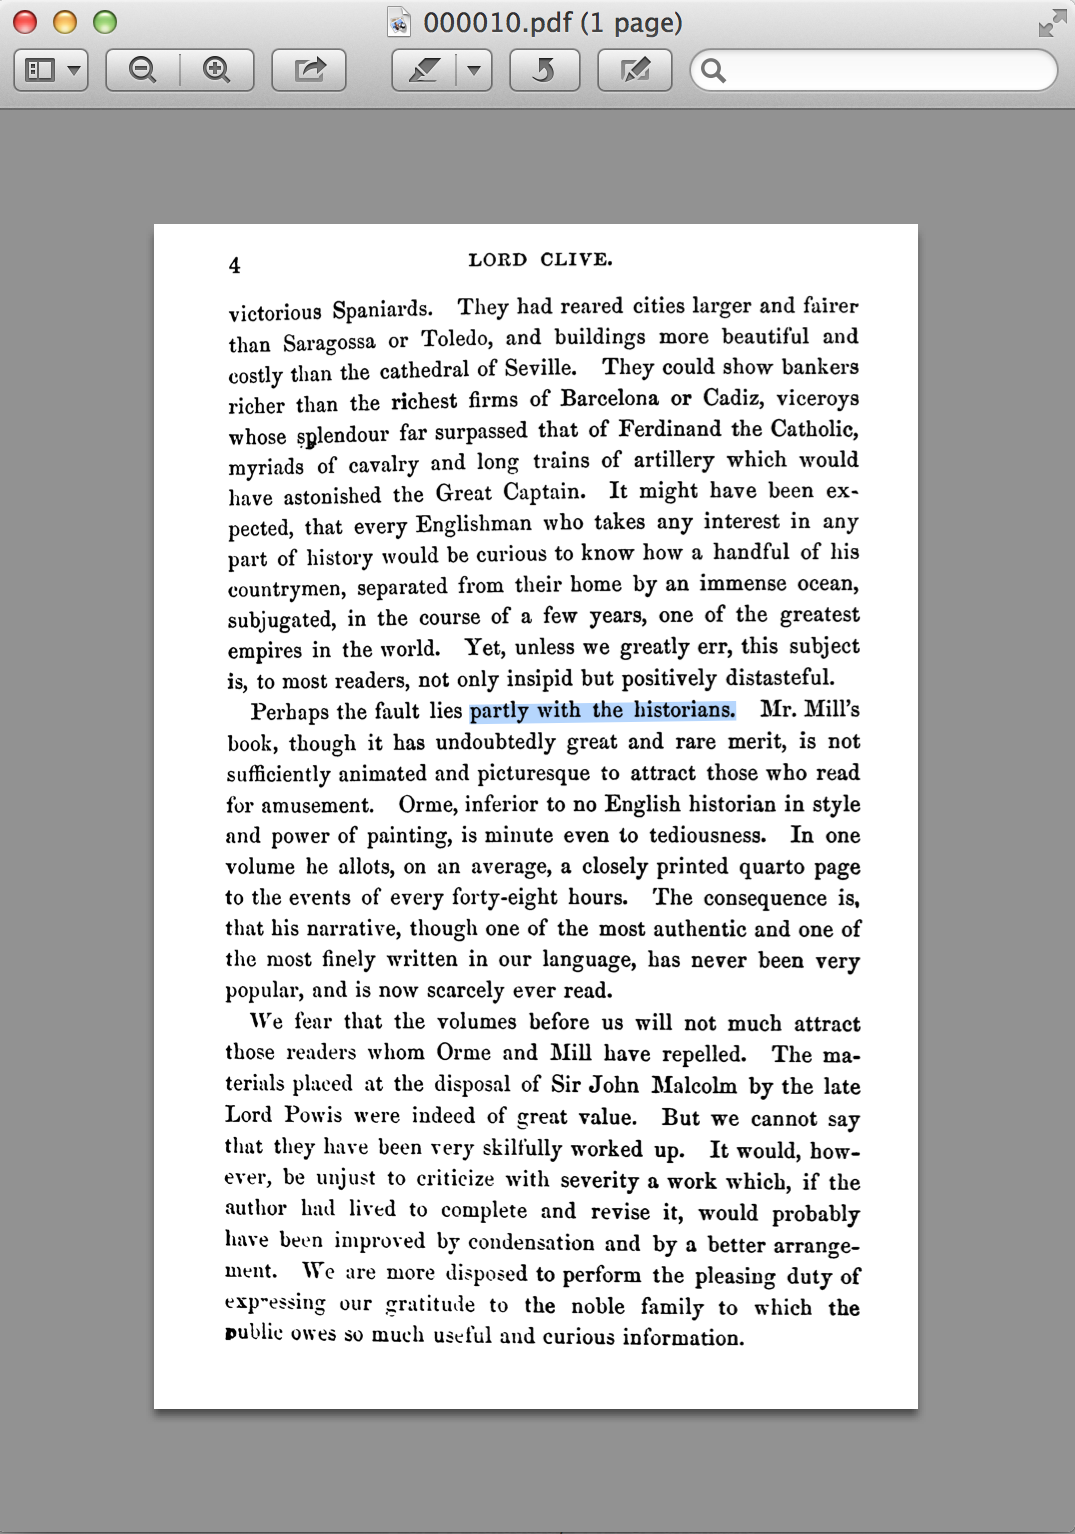 |
Used in this way, tesseract outputs a searchable pdf as 000010.pdf. The image above (click for a larger view) shows the resulting file with some text highlighted.
However, I find that if I output the text using pdf2text, the text from such a file has problems, words are run together.
This is a little frustrating, I can either have searchable PDFs where I can find the page that contains a certain string, that I can easily output large chunks of text to ascii with correct word spacing; or I can have PDFs where I can find individual words but output of large chunks of text is impeded by word spacing problems.
Currently, I am planning to stick to correct word spacing solution, though I would much prefer to be able to achieve both objectives!
Here is where I found the necessary information to get tesseract 3.03 built successfully...Installing Tesseract on a Mac. (Thank you to the author.)
Here is how I create PDFs for printed matter and books. This is my current scheme - and I occasionally make improvements. It takes about an hour to scan a book and once that is done you can have access to the content in a searchable PDF, and you do not need to carry the paper around anymore.
The first stage is to photograph the material. I use a tripod (well tetrapod) like arrangement which was built using materials obtained from the local Ace hardware store, following the instructions here: http://www.instructables.com/id/New-Improved-Portable-Paperless-Digital-Copy-M/. These instructions are very complete. I didn't follow them slavishly as some people in the comments for the instructions seem to. For example, I didn't stress too much about drilling holes in the metal frame, I found it was quite simple to make holes as and when necessary, just using a suitable piece of steel (a 'bradawl', I think it is called) as a make shift drill. So, I wouldn't over worry about the intructions, you just need a hacksaw and a pair of pliers and you are good to go with a solid DIY stand for reproducible pictures of printed material.
 |
For a camera I use a Cannon PowerShot SD850 IS. This camera could probably do with more resolution for book scanning, but it works out fine in practice. I use the tungsten light setting and have set the focusing to 'macro' aside from that everything is pretty normal. The basic set up is shown in the photograph above.
So given the tripod and camera, you just proceed to photograph the material. The tripod can handle books generally at two pages per image. The illustration shows an example of scanning some pages from a conference programme, so that I could throw away the paper, and just retain the electronic copy. I regularly get rid of the paper build up on my desk in this manner. I can then be confident that the information is available if it is ever needed again. In fact, finding the information electronically is significantly more straightforward than sifting through the old physical copies.
But how do you create a PDF from a large number of photographs? There are two things that need to be done. Firstly you need to prepare the images, remove any slight rotations, trim the edges, and so on. Secondly, you need to turn the resulting images, which are often black and white, into a PDF.
To prepare the photographs, I use scantailor. This is an interactive program. You can interactively split pages, remove slight rotations, and select the content for each page. When you start up scantailor it prompts you for a directory of photographs. So, I just copy the images from the camera to the computer and import all the images to scantailor. You are prompted to specify the resolution of the images and I typically just enter 300x300 dpi. I am not sure how important this parameter is, the instructions for scantailor seem to indicate that it is very important to get this input accurate. However, I don't see any problem just entering 300x300.
So using scantailor you split, align, and select content. You can also specify how the pages are going to be output, either in black and white, color, or a mixture of styles. Generally only a few pages need to be adjusted to account for diagrams and so on, and the black and white settings can be applied to the majority of images. I tend to set the margins to '0' and to allow the pages to be different sizes if they need to be. These are just my preferences and as far as I can see make the PDF creation process simple and do not cause any problems for the use of the PDF.
Then scantailor can go ahead and output the images based on the settings applied so far. Scantailor does a really good job at creating black and white images. It has a cunning thresholding algorithm that decides if a given pixel should be black or white. This is important because a photograph inevitably contains a grade of colors from black to white and choosing the correct cut-off is critical in maintaining legibility across the page.
When scantailor is complete you will have a folder of .tif files representing the pages of you scanned material. I process these using a pair of scripts on an Ubuntu box (where I also run scantailor). The first script, called assemble.sh, simply creates a contiguous set of page images. It is assumed that this script is run in a directory which is parallel to the 'out' directory created by scantailor.
#!/bin/sh
#a simple script to create numbered links to the tif images output by scantailor

ls -1 ../out/*.tif | awk '{
  filelist[NR]=$0
}END{
  print "THERE ARE " NR " PAGES"
  icount=1
  for(i=1;i<=(NR);i++){
    output[icount]=filelist[i]
    icount=icount+1
  }
  for(i=1;i<=NR;i++){
    str=sprintf("%06d.tif", i)
    cmdstring="ln " output[i] " " str
    print i, cmdstring
    system(cmdstring)
    close (cmdstring)
  }
}'
Then I use a script called tif2pdf.sh which processes the tif images into a PDF file. I have worked through various iterations in creating this script and this seems to represent the best set of compromises. It does various things, it creates a PDF file from each .tif file, it runs tasseract to provde OCR information for each page, and it simplifies the color depth of a give .tif file if necessary. This latter step keeps the size of the PDF down. (Color complexity is equivalent to high file sizes in PDFs, unfortunately).
#!/bin/sh
#manage pdf production from a set of numbered tif files

i=0
for FILE in 0*.tif
do
  BASE=`basename $FILE .tif`
  i=`expr $i + 1`
  d=`echo $i | awk '{printf "%05d",$i}'`

# if the tif file is over 1 mb reduce the number of gray scales to 4
  SIZE=`ls -ltra $FILE | awk '{print $5}'`
  if [ $SIZE -gt 1000000 ]
  then
    echo "FILE $FILE IS LARGE SO MINIMIZING"
    tifftopnm $FILE | ppmtopgm | pnmquant 4 | pnmtotiff -lzw > new.tif
    FILE=new.tif
  fi
# we need a tiff file and a pdf file - create the pdf file for this image
  tifftopnm $FILE 2> tifftopnm.err | ppmtopgm | \
    pnmtops -noturn -rle 2> pnmtops.err> tmp.ps
  status=$?
  if [ $status -ne 0 ]
  then
    echo "Initial tifftopnm pipeline failed"
    cat tifftopnm.err
    cat pnmtops.err
  fi
  ps2pdf -dEPSCrop tmp.ps
# use tesseract to ocr the tif file
  tesseract $FILE $BASE 2> tesseract.err > tesseract.txt
  status=$?
  if [ $status -ne 0 ]
  then
    echo "TESSERACT FAILED"
    cat tesseract.err
    cat tesseract.txt
  fi
# remove brackets from the text file
  sed 's/</lt/g' $BASE.txt | sed 's/>/gt/g' > tmp.txt
  mv tmp.txt $BASE.txt
# merge the text and pdf file
  hocr2pdf -n -i $FILE -o tmp2.pdf < $BASE.txt 2> hocr2pdf.err > hocr2pdf.txt
  status=$?
  if [ $status -ne 0 ]
  then
    echo "hocr2pdf failed"
    cat hocr2pdf.err
    cat hocr2pdf.txt
    echo "Retrying using hocr"
    tesseract $FILE $BASE hocr
    hocr2pdf -n -s -i $FILE -o tmp2.pdf < $BASE.html
  fi
# combine the bitmap pdf file and the ocr layered pdf file to create the page
  pdftk tmp.pdf background tmp2.pdf output newpage$d.pdf

done

# combine all pages to create the final output.pdf file

pdftk newpage*.pdf cat output output.pdf

rm newpage0*.pdf
rm tmp.pdf tmp2.pdf hocr2pdf.txt tesseract.txt
When using these script, or when looking for scantailor, you may find that certain commands are not installed on your machine. Ubuntu handles this very nicely, giving you the appropriate apt-get command to rectify the problem. Very convenient...
This process might seem a little involved, but the result is something which is more useful than your original book or sheaf of papers. You have a searchable PDF file, probably something like 20mb for a small book, which takes up very little room on your tablet or phone, and you don't have to lug the paper around anymore. Of course, it is always nice to have the paper, so I wouldn't suggest replacing books with electronic copies, but there is something very convenient about being able to search books using Spotlight or similar technologies, and this procedure opens up that practicality.
I have also made various investigations of PDF file compression and so on, and I will report on these in future posts.
Here is an example book scan: Macaulay's Lord Clive.